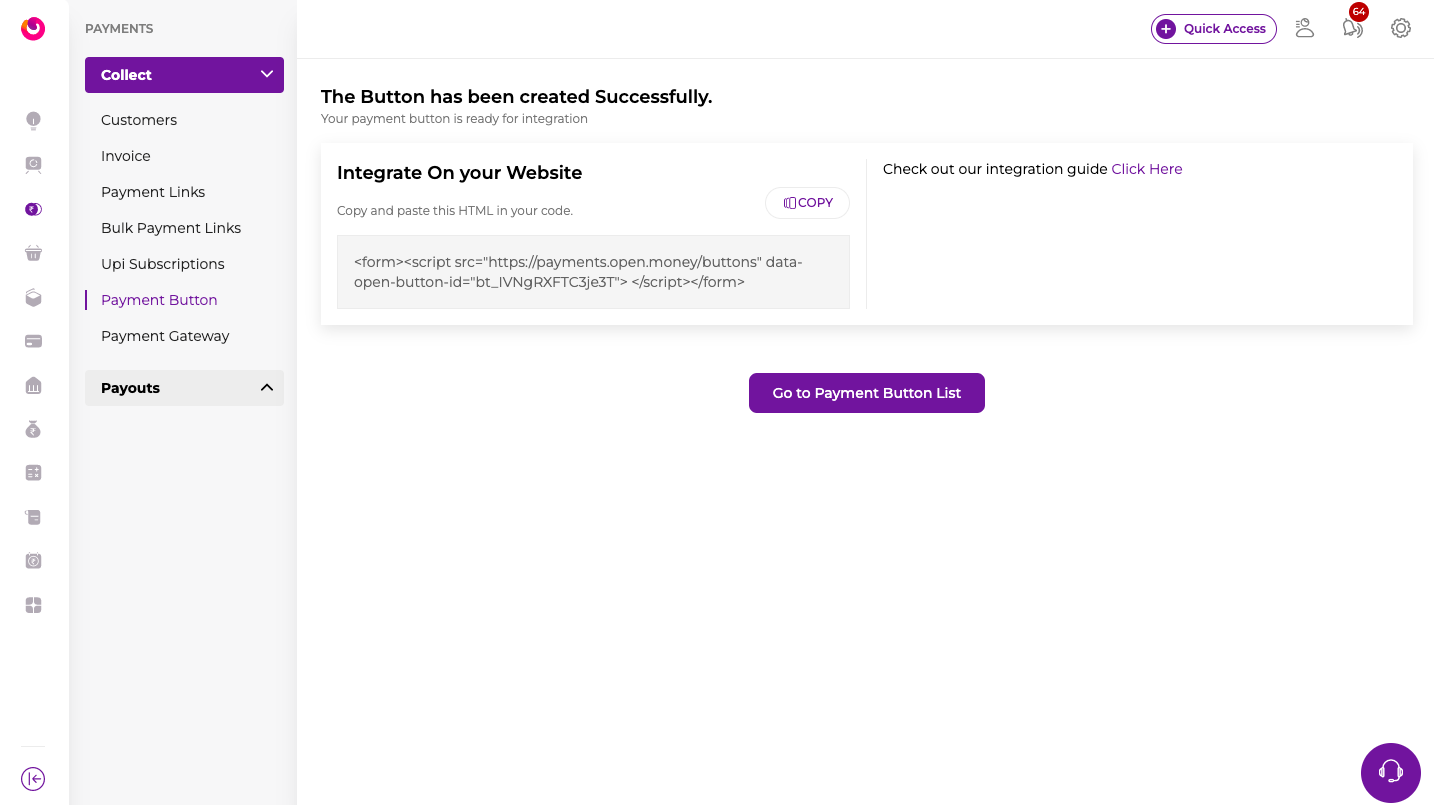
You can create a Button via the OPEN Dashboard and embed it on your website to accept payments from customers.
Let us walk you through the Payment Button Creation.
Follow the steps below to create a Pay Now button for your Site.
Step 1 : Create Payment Button
- Log into the Open Dashboard and navigate to Payments --> Collect --> Payment Buttons
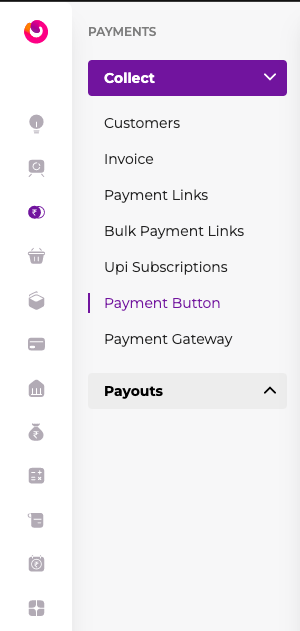
- Click +CREATE PAYMENT BUTTON
Step 2: Add Button Details
You must configure these sections to create the Payment Button.
   --> Button Details

   --> Customer Details

   --> Review
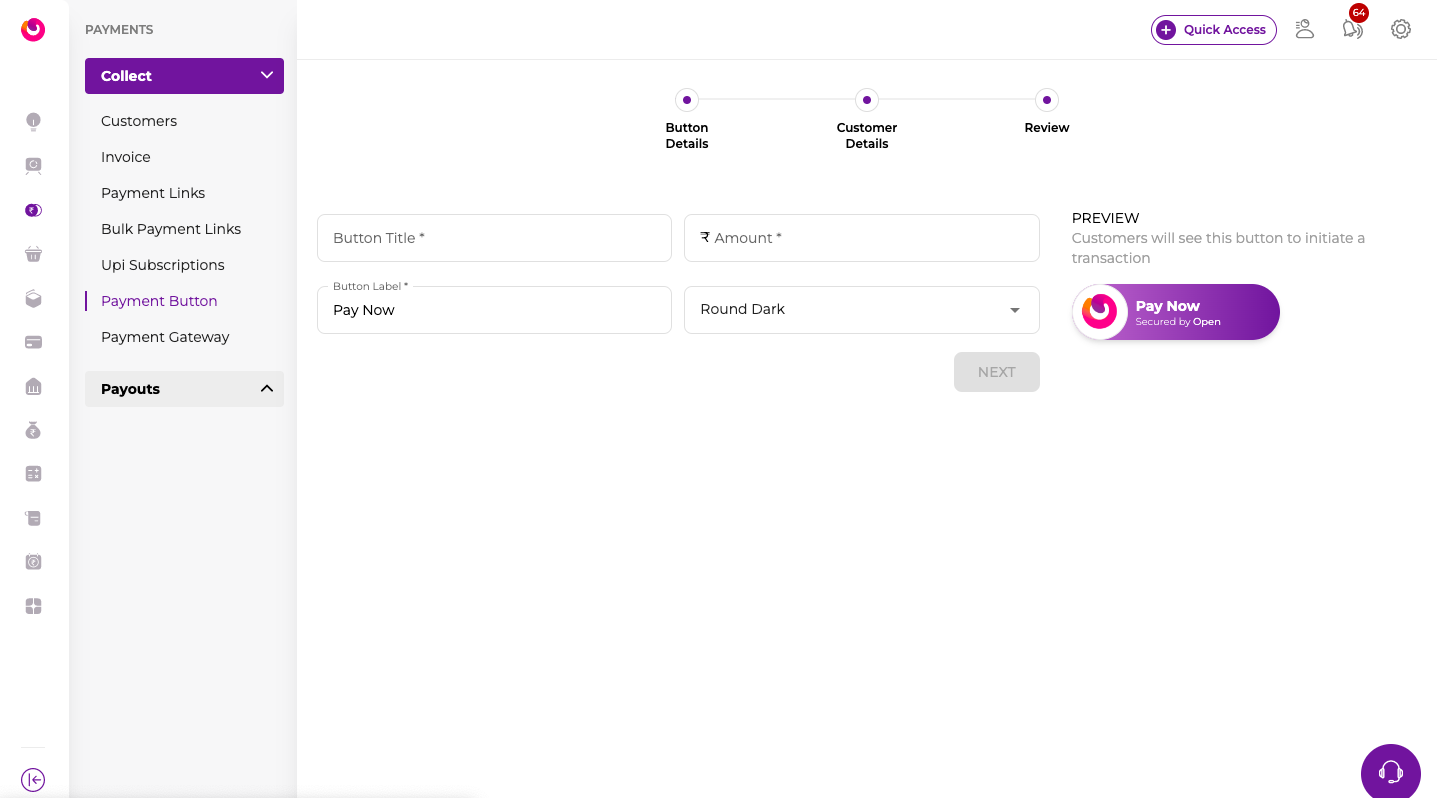
2.1: Button Details
In Button Details, enter the relevant information:
1 . Title - Provide a name for the button. This name is for your internal reference and will appear on the
OPEN Dashboard. It will not be visible to your customers. For example, Digital Sales.
2 . Below the Title, the Text on the button will be displayed to customers. Please enter alphanumeric
characters
3 . Amount - Enter the amount to be paid by the customer, for example, ₹999.
-
You can choose between the following themes:
        Round Dark(Default)
        Square Dark
        Square Light
        Round Light
        Round Outline
        Square Outline
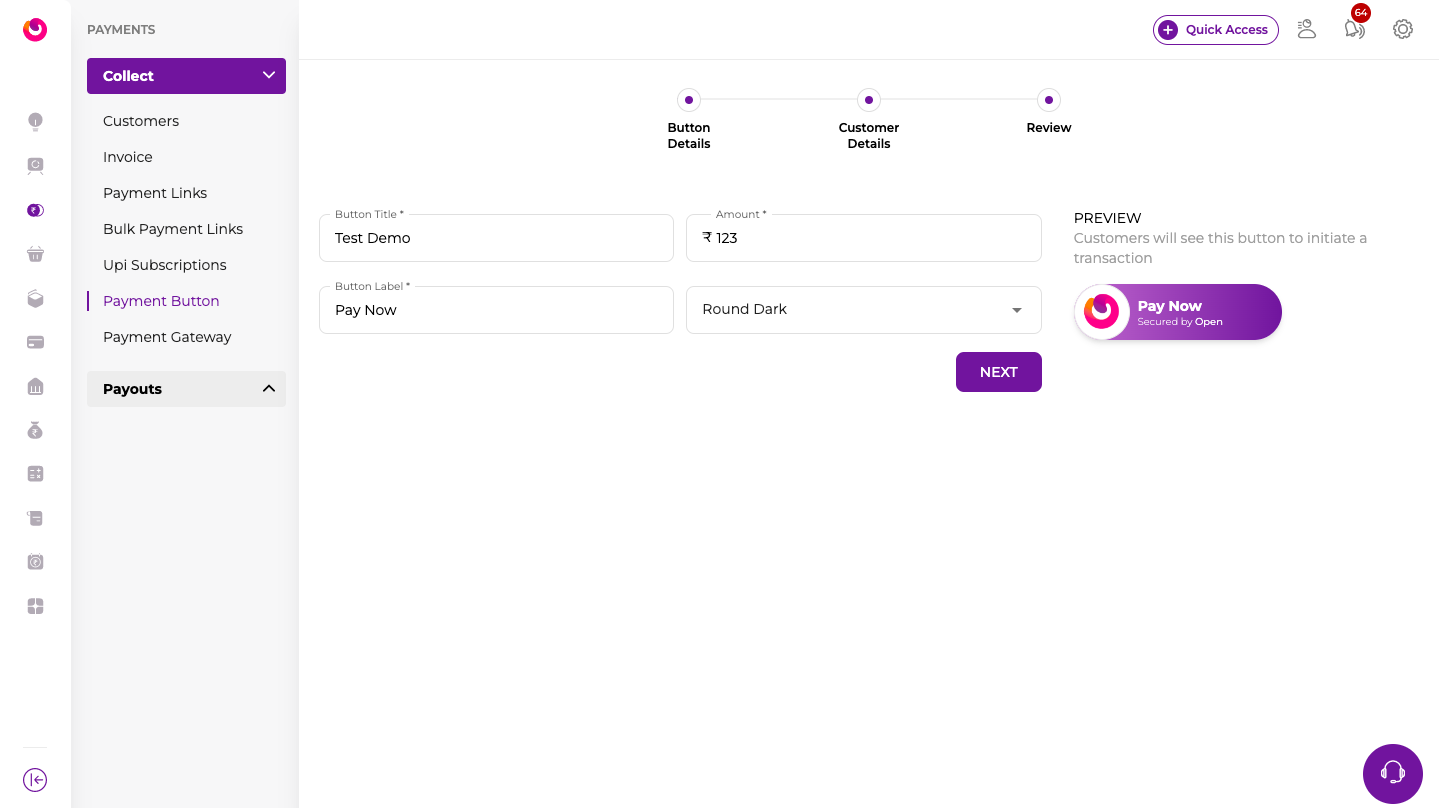
5 . Click Next
2.2: Customer Details
In the Customer Input form, you can configure the information that must be entered by the attendee while making the payment. There are default fields, Email and Phone No, and you can also add custom fields that need to be collected.
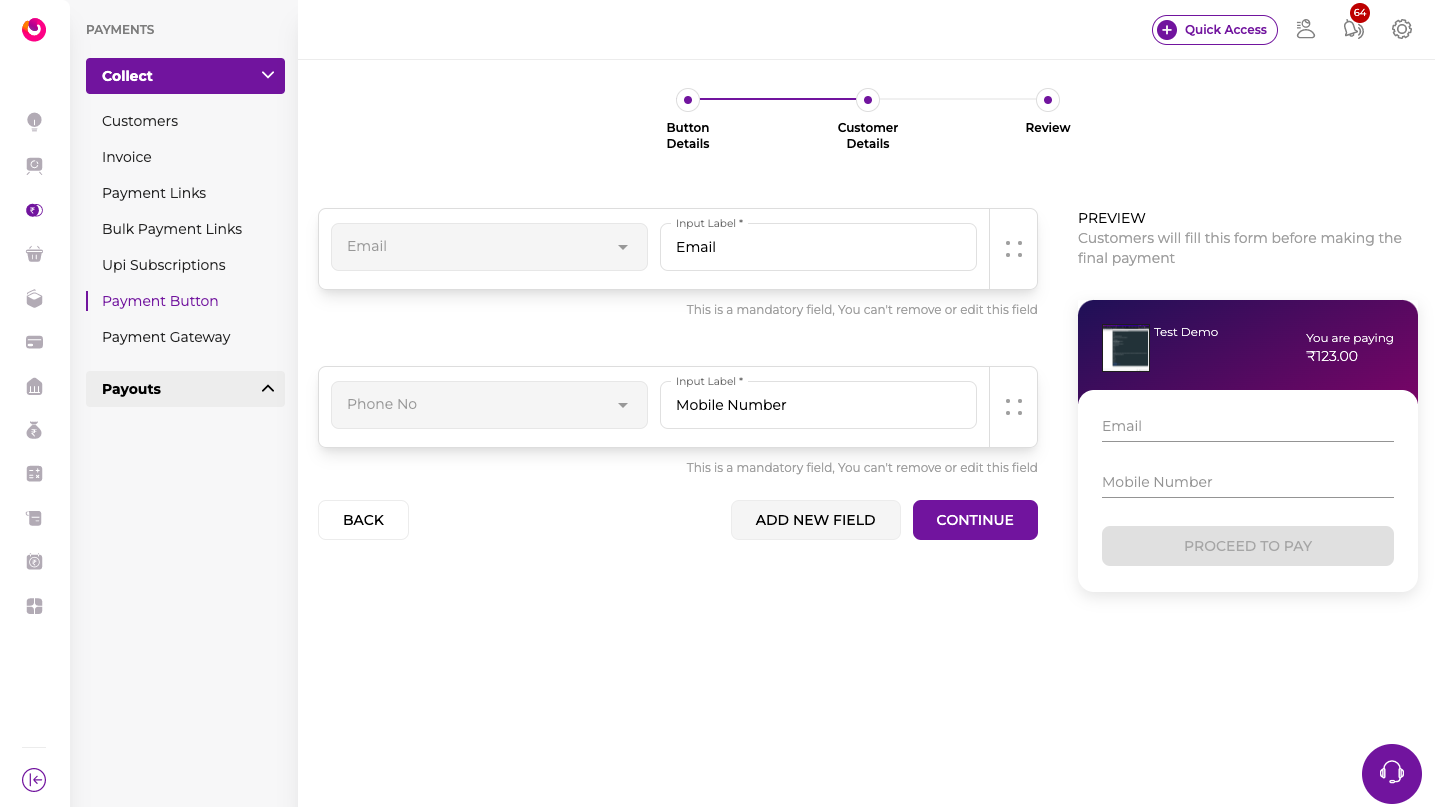
Additionally, if you want to collect more information from the customer, you can add more fields:
1 . Click Add New Field, and a new modal will get created. From the Drop Down List, select the relevant
field type. For example, choose Single Line Text if you want the customer to enter their name.
2 . In the modal that appears:
 a. Enter the label for the custom field. For example, Full Name.

 b. If  you want this field optional, click on the 'Is Optional.'

 c. If required, add a Hint for the field.
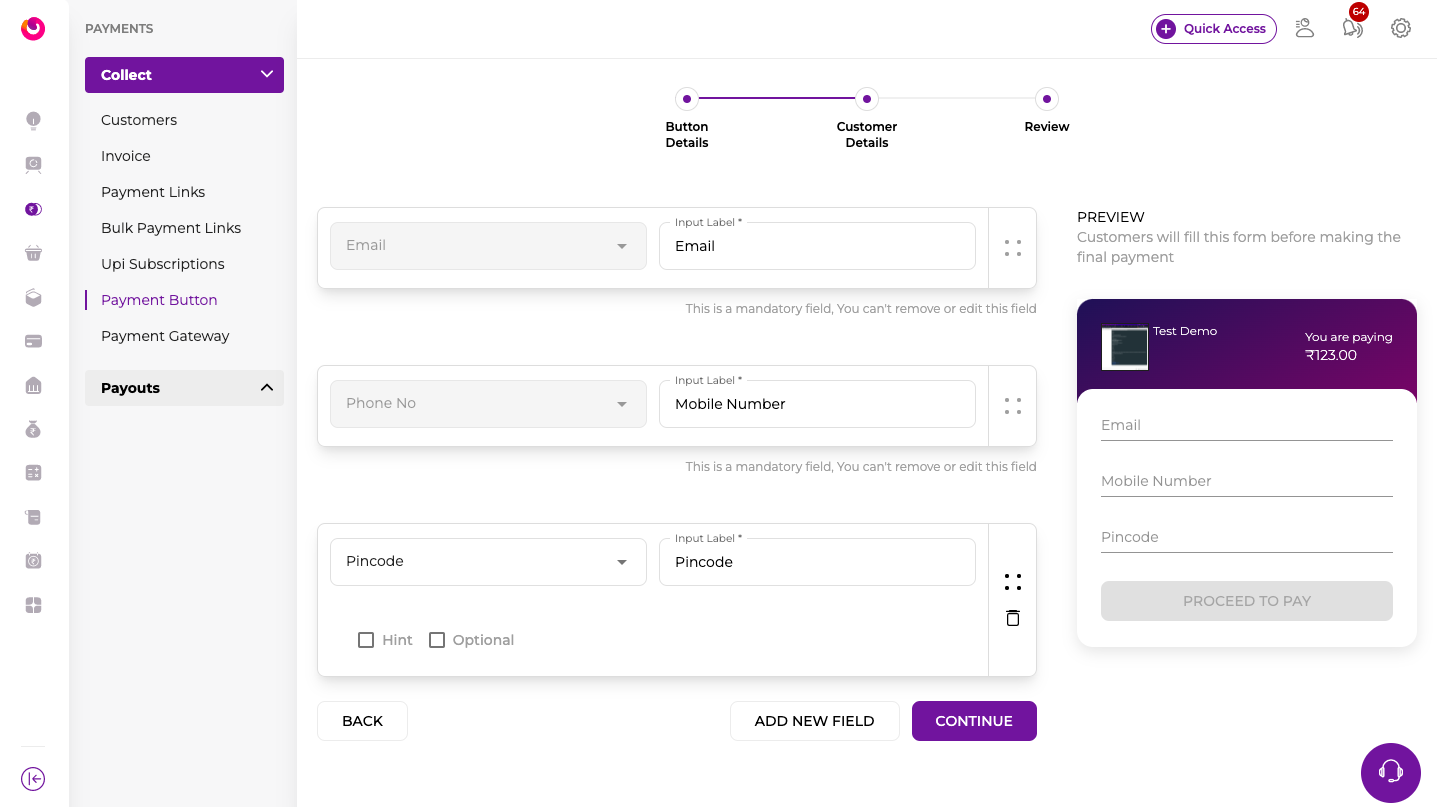
3 . Click Continue
2.3: Review
Review the details entered in the previous sections. You can click Back to navigate the Button Details and Customer Details section to make changes.
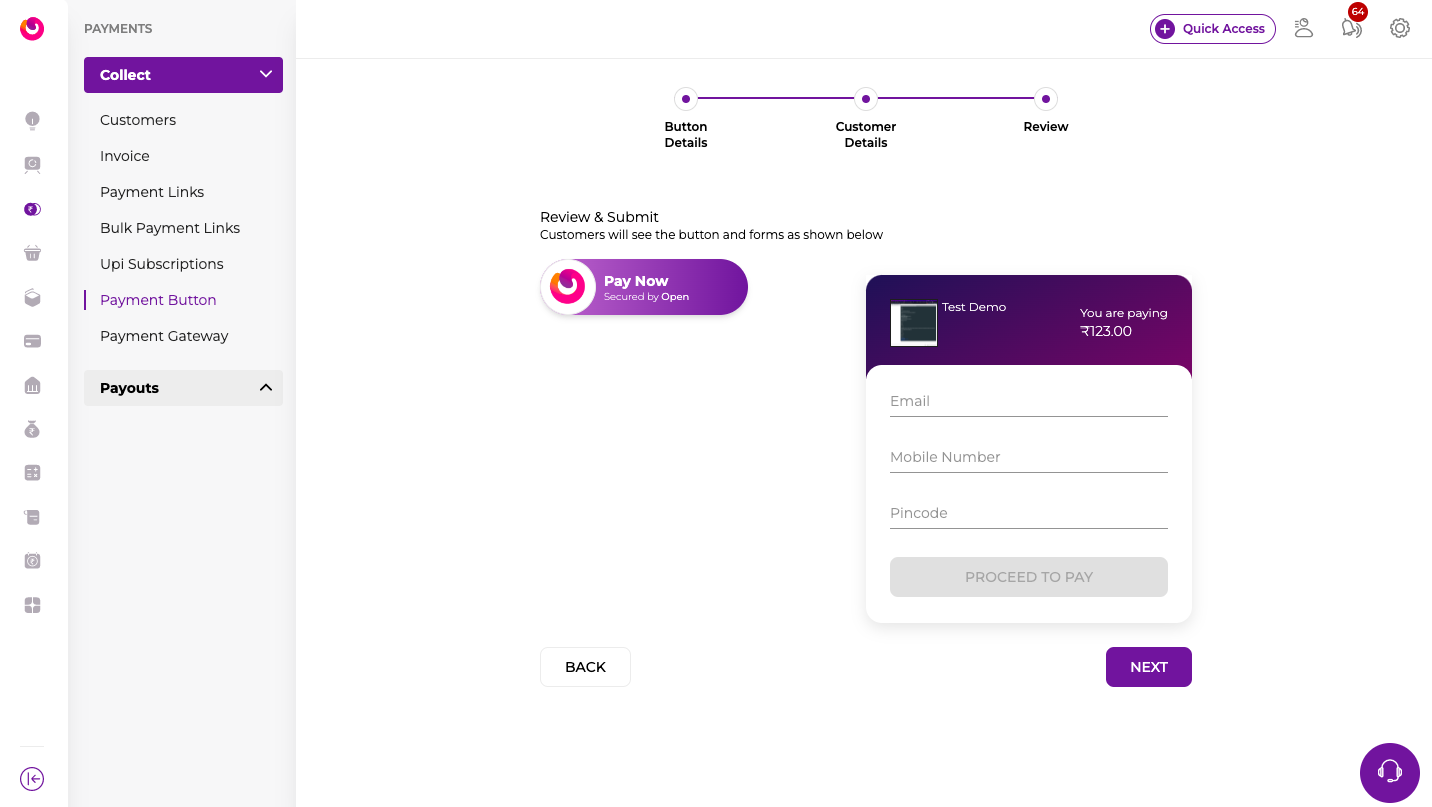
Click Next Button.
Upon completion of these steps, the button code appears. Copy this code and add it to your webpage.
